Teal Armband


teal armband
spiral armband
dragonfly armband
golden leaf armband
Here is where you can find more amazing products from etsy.
More Posts from Zelo-ref and Others

I’m sure Vaja is having a lot of fun with that cape.
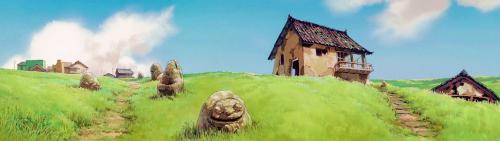
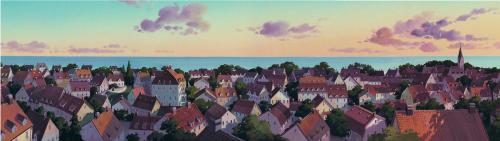


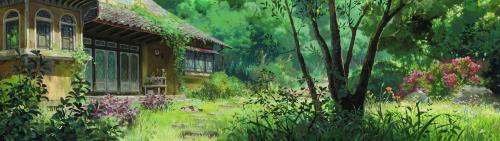
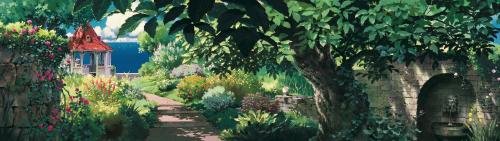
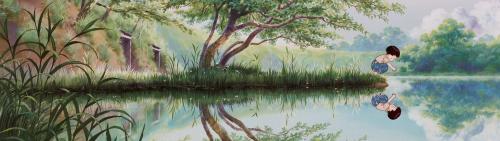
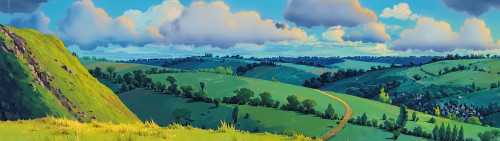
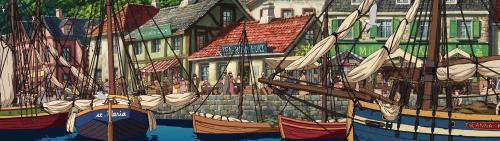
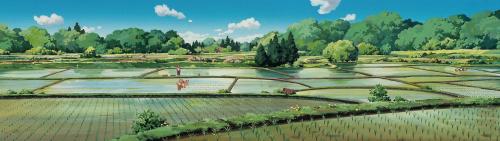
Ghibli Art 1


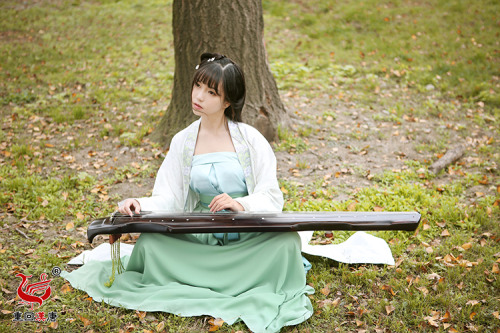
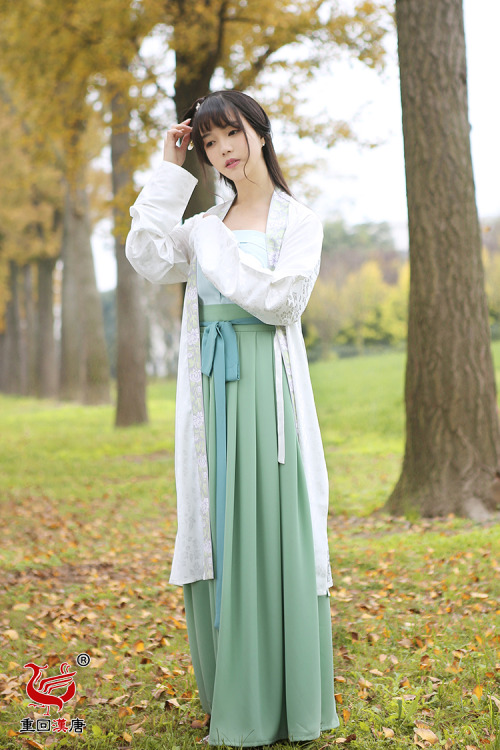


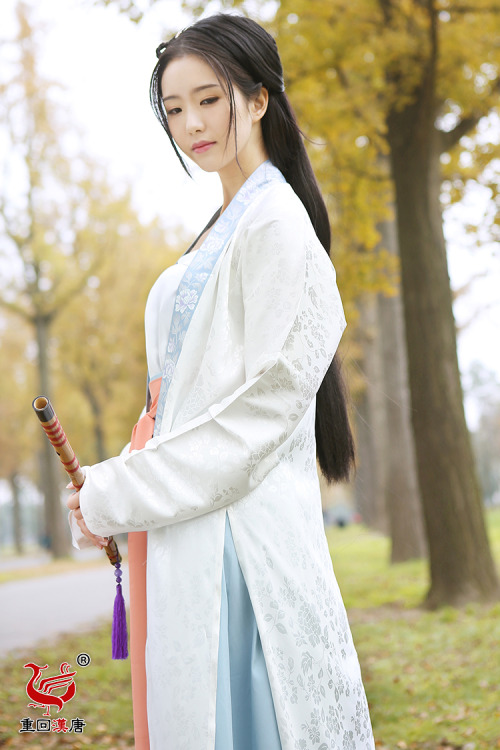
(via 重回汉唐汉服女装实体店白蓝绿色褙子抹胸襦裙套装轻萝非古装-淘宝网)
重回汉唐
Really usefull
I'm kinda ashamed to ask this, but could you make a tutorial on how to draw hands? ;A;
omg dont be ashamed at all!! Hands are generally tough to get used to, lots of artists struggle with it! so dont be ashamed i feel you.
and I actually have made a hand anatomy guide before in fact! If you want to get better at drawing hands I def recommend you learn the basic anatomy first. Please check out the ones I made, I try to make it simple and easy to understand:
Artistic Anatomy: Hands Part 1
Artistic Anatomy: Hands Part 2
There’s my guide to the anatomy, but here’s some more tips that I’ve noted to myself that I’d like to include
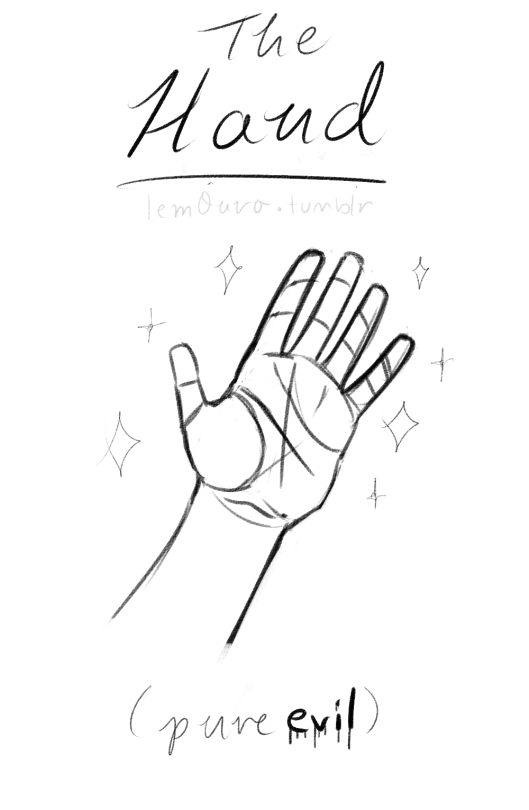
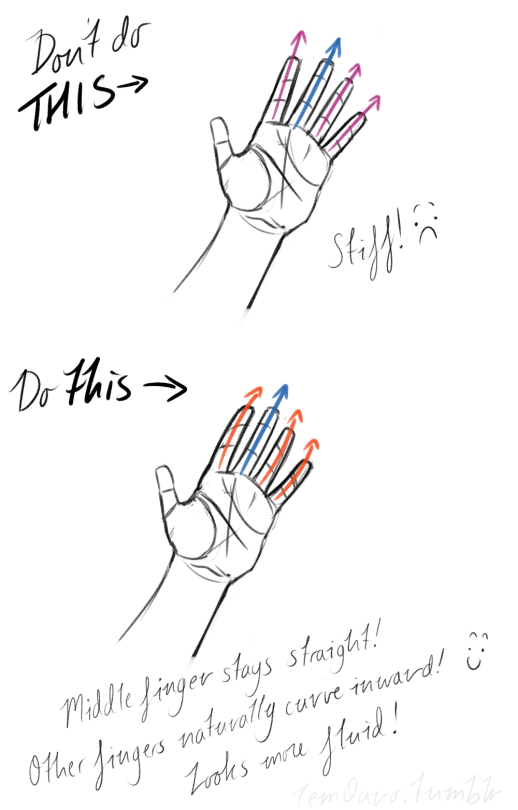
First off, I’d like to just note on the fingers: if you pay close attention to your own hand, you may notice the fingers are ever ever so slightly curved inward. It’s a very subtle detail, but I noticed that, despite how slight it is, it can make a hand look more lively, and less stiff.
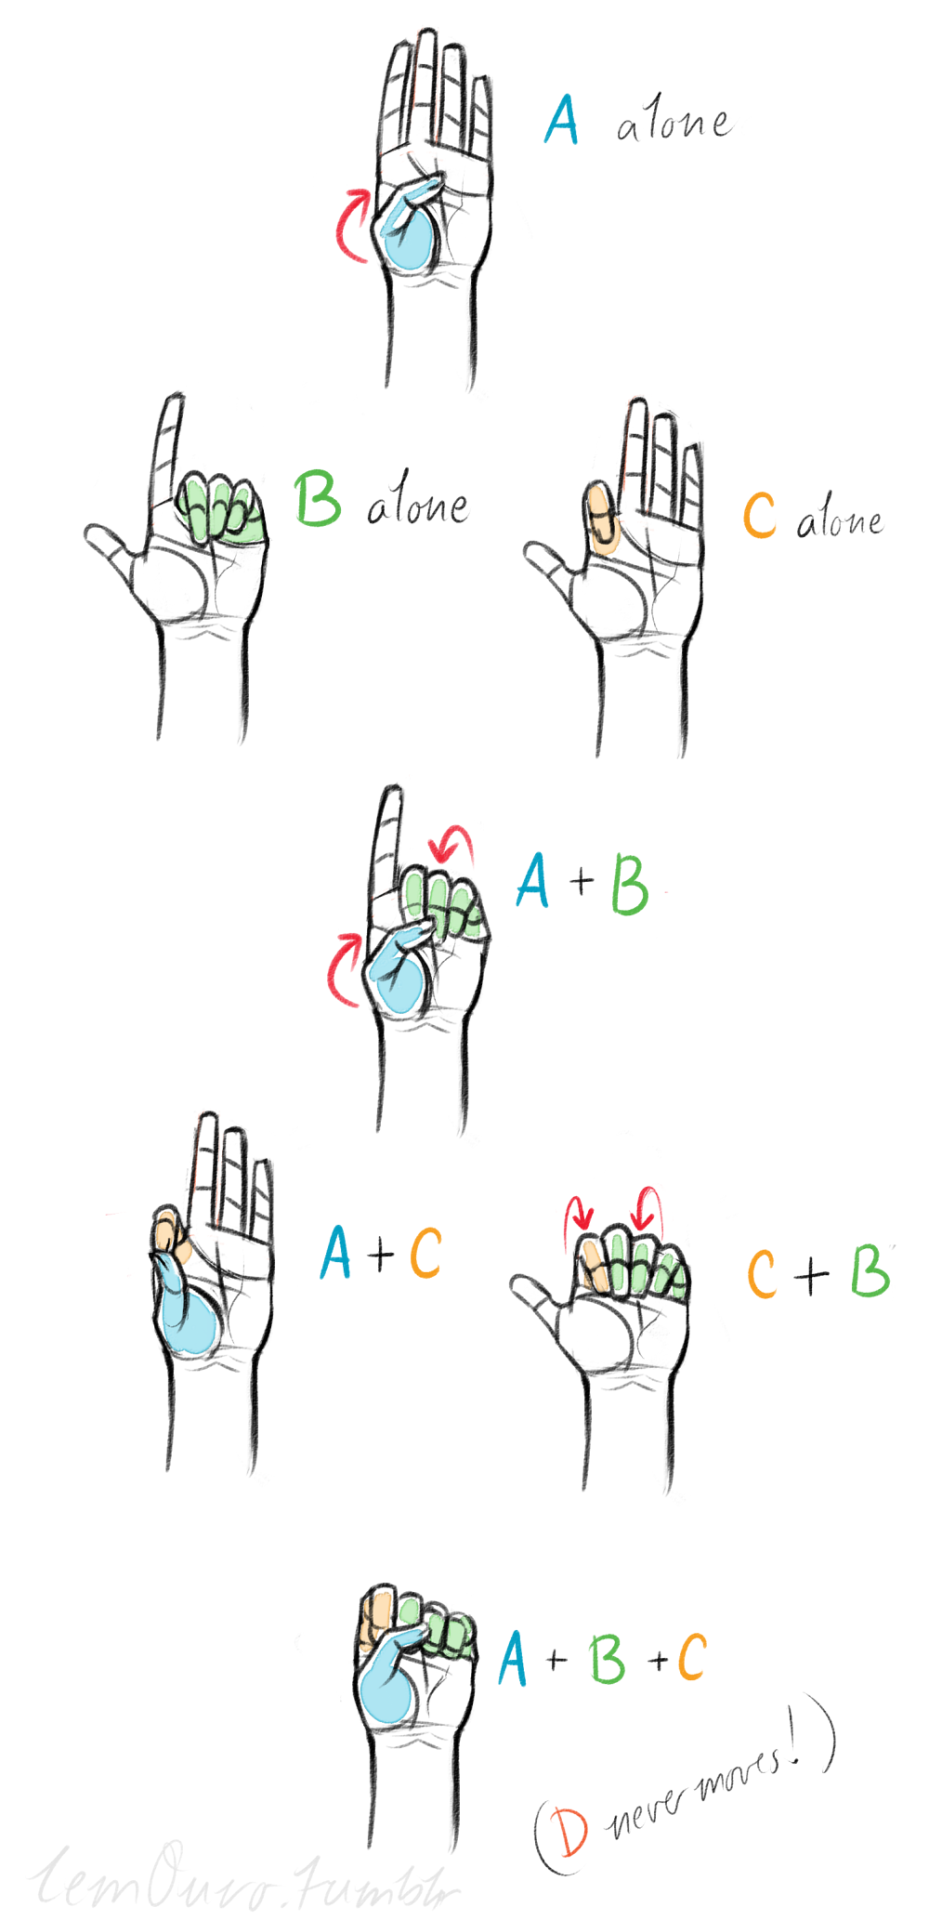
Second, the “M” on the palm! Your hand moves in many ways, and because it does it creates creases in your hand. The most prominent creases appear to make an M shape; this is handy to remember for what I’m going to talk about next. (It also could be a “W” I guess, or to be more specific a “ )X( “; just think of it in whatever way helps you remember!)

SO now that you see the M, draw your hand as a basic blocked shape and add your details. As you do, you can see that the M divides the palm into four basic parts!


When the hand moves, parts A, B, or C of the palm, alone or in different combos, will create the general poses that the hands do normally. These parts are the parts that move, with D being stationary, no matter what!
Here’s a chart of all the possible combos. Once you have down what part of the hand moves for a certain pose, you can change up the fingers and tweak it a bit to do what you need to make it more specific!
This is simply my method of drawing hands. God knows there are hundreds of tutorials out there by other artists, but personally, this way helps me the best (after learning the anatomy first).
This way I can divide the hand and combine the parts in any such way I need!
Hands take a lot of effort to grapple, and you need to practice them a lot, especially foreshortening of the hand; that’s really something you need to learn through your own studies. Look at your own hands, draw hands from life, from magazines, shows, comics; just draw hands! You’ll eventually figure out a method that works best for you. So to get better at drawing hands; draw hands!! And don’t stress over it, have fun with it!


’What is hair and how i can render it?’
I got this question and I really wanted to show on very simple examples how to render hair. Because it really is… simple! Following this guide you will be able to paint hair in few minutes.
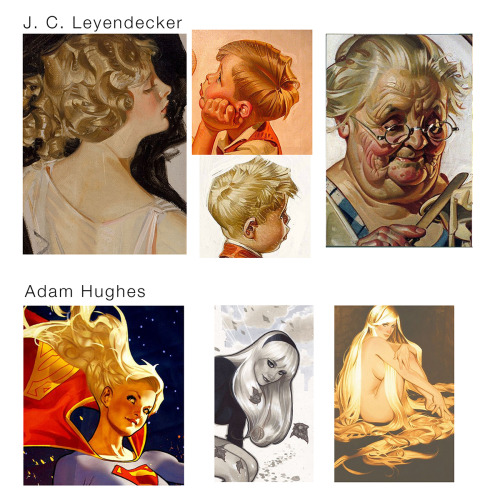
This is called the ribbon technique.
It is used by many artists out there. I just wanted to show you a couple of examples. As you can see I picked Adam Hughes and J. C. Leyendecker. Look at it and see how they paint the hair. It doesn’t look like a mop. It looks more like big, overlapping shapes organized in some fashion.
Try to imagine a string of hair like a ribbon. Ribbon symbolize a large portion of hair. Don’t focus on every single hair string, instead of this imagine it as bigger shape. It will catch light in highest point and it will have core shadows.
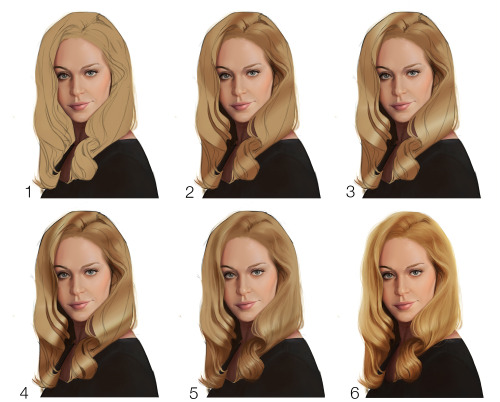
Establish where light is hitting the hair and where it turns dark. Start with big shapes. big brushes to get the lights and volumes right. Then You can go into details and paint small brush strokes to add details like single hair strings.
I attached two examples. First is very simple where you can clearly see and understand the similarity between hair and ribbon. Second example is theory put into practice. But it’s basically doing the same things as shown in simple example.
Let me know what you think about this?
I based my knowledge on James Gurney blog (author of Dinotopia and Light and Color book)
And for the example I used Faestock (from deviantart) photo.


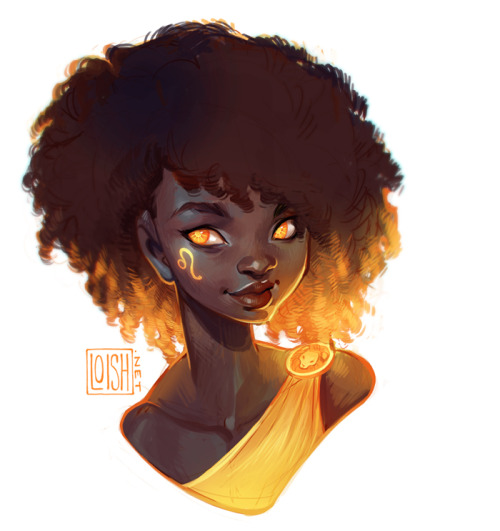
another commission drawn for one of the backers of my (now closed) artbook kickstarter campaign! this one’s for Talia, who wanted a character with lots of references to the leo zodiac sign.


It seems like all of the resources I can easily find online for identifying wolves vs dogs are either massive and difficult to understand without prior knowledge of the subject, or extremely bare-bones and miss a lot of key information. I tried to hit a comfortable middle-ground. (sorry if it’s a little wordy) This tutorial is made as a reference for drawing, so everything but purely visual differences between dogs and wolves have been left out. I’ve been wanting to make this for a while now, so I’m glad I finally sat down and did it! **EDIT** When it comes to the section on wolfdogs, please take it with a grain of salt. With something as complicated as genetics, they are of course, not going to be as simple as I make it seem. What features different levels of content can display, and even which percentages designate which levels of content are often hotly debated within the wolfdog community. At this point I’ve elected not to change the image set itself because: a. it’s a huge pain in the ass b. this is a tutorial for beginning artists. It’s meant to be a hugely simplified version of the topic, and I’ve stated clearly that it is NOT to be used in real-world identification. ((Huge thanks to yourdogisnotawolf. who’s blog inspired me to make this and for digging up that amazing picture of the wolf/lab mix))

Close up of new capelet in ivory :) For all about my designs, see: www.somniaromantica.com ^^

DIY Ribbon Tie Sweatshirt Refashion Tutorial from Wobisobi.
Except for sewing a teeny bit where you attach the ribbon, this is a no sew DIY. For a huge archive of excellent DIY sweatshirt restyles go here.
-
 justremainingmyself liked this · 2 years ago
 -
 finnamoss liked this · 5 years ago
 -
 luisalecto liked this · 7 years ago
 -
 flightless-fear-of-falling liked this · 7 years ago
 -
 nachoaveragelesbian liked this · 8 years ago
 -
 anti-eden reblogged this · 8 years ago
 -
anti-eden liked this · 8 years ago
-
 xxoziolovechildxx liked this · 8 years ago
 -
 pizzacakeandmuke liked this · 8 years ago
 -
 dadjokeprose liked this · 8 years ago
 -
 fantabulous-bitch-nextdoor liked this · 8 years ago
 -
 kiityluv reblogged this · 8 years ago
 -
 jadore-tes-chaussures reblogged this · 8 years ago
 -
 112067 liked this · 8 years ago
 -
 hanamaeberry reblogged this · 8 years ago
 -
hanamaeberry liked this · 8 years ago
-
 mineandonlymineforeverandalways reblogged this · 8 years ago
 -
 daxmana reblogged this · 8 years ago
 -
 lia-ann-blog liked this · 8 years ago
 -
 drjekkar liked this · 8 years ago
 -
 poonaneetsunamee liked this · 8 years ago
 -
 unlovedshawtycx liked this · 8 years ago
 -
 ladle-bug liked this · 8 years ago
 -
 luckybychance liked this · 8 years ago
 -
 driftingalaxies liked this · 8 years ago
 -
 lambentwitch reblogged this · 8 years ago
 -
 fpheral reblogged this · 8 years ago
 -
fpheral liked this · 8 years ago
-
 borrelendenootjes liked this · 8 years ago
 -
 the--fandom--has--claimed--me liked this · 8 years ago
 -
 kdsinthedrk-blog liked this · 8 years ago
 -
 loveiwillsurvivethis reblogged this · 8 years ago
 -
 beersontap liked this · 8 years ago
 -
 boggleblue liked this · 8 years ago
 -
 misslazyme liked this · 9 years ago
 -
 taesty-lipz reblogged this · 9 years ago